Oh Wow! I love this new pattern/template project from Nancy Zieman!
It’s the Hobo Tote Collection from her Trace ‘n Create Bag Templates and like I said, I LOVE IT!
So, before I show you some pictures and tell you about my Hobo Tote adventure, I want to say a big “Thank You” to Nancy Zieman and her wonderful production team member Deanna Springer for including me in this awesome blog tour.
Here’s a link to Nancy’s official Blog Tour Headquarters: http://www.nancyzieman.com/blog/blog-tour/hobo-tote/
If you haven’t already, you’ll want to drop in at headquarters because Nancy has some very nice prizes to give away…..
OK, now let me tell you about my Hobo Tote! Or better yet, let me share a few pictures with you. Gotta tell ya though, these pictures are not as clear as I would like…. due to a mishap with my good camera, I had to use the camera on my iphone for this post and all I can say is, “eeeeep!”
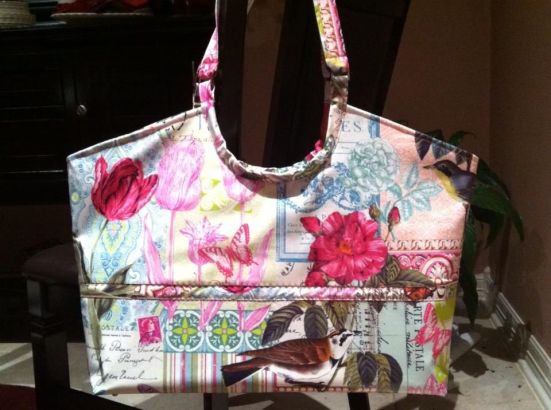
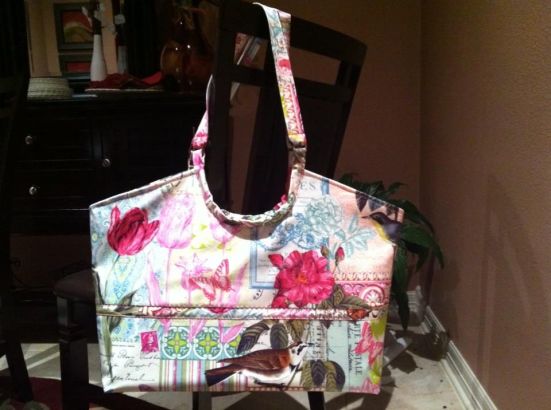 I chose to use a laminated cotton fabric from Michael Miller’s French Journal Collection. Isn’t it lovely? And, water/stain resistant!
I used this laminated fabric for the bag inside and out as well as for the bias tape and straps. Have you ever sewn on laminated cotton? If you have then you know first hand what a big help these tools are during construction:
Teflon Presser Foot – helps the presser foot glide over the plastic coated fabric that can be very “grabby” when sewing
Wonder Clips – awesome for “pinning” without piercing holes in your fabric
Double Sided Basting Tape – used all through this project instead of pinning ( a real life saver!)
In order to provide nice shaping and body to my bag, I used the recommended Shape ‘n Create shaping material for the bottom of my bag. (I had taken some pictures of this, but the camera issue has prevented me from sharing that wonderful image…) Anyway, I really loved using that product. Nancy’s not exaggerating when she says it sews like butter!
I also used the Stiff Stuff firm stabilizer from Lazy Girl Designs and found it very manageable and easy to work with. I’m loving the way my bag can stand up all by itself and not flop over!
Ready to see more of my bag?
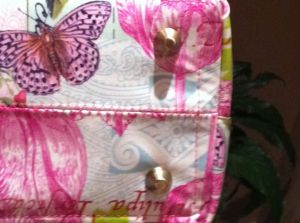
I used the Satin Bronze Accessory Feet for the bottom of my bag. This was my first time to use these feet and I am very pleased with the results. See?
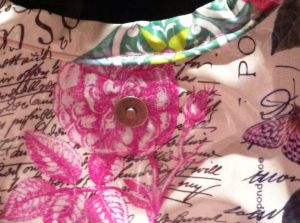
I also used the Antique Gold magnetic snap closures:
I chose the Satin Bronze Rectangle Rings for the Straps hardware.
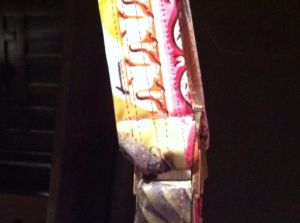
As you might be able to tell from the picture, one thing I modified on this project was the width of the straps. I tend to overfill my bags and I prefer a wider strap than the pattern called for. Also, since I was using a laminated cotton and couldn’t fuse the recommended create-a-strap into my fabric, I used the double sided basting tape to secure the strap stabilizer in place, folded the strap as needed and added several rows of stitches to the length of my straps as a decorative accent and also as reinforcement.
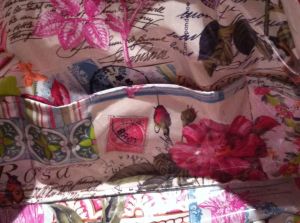
Here’s a peek inside my bag (lotsa pockets!):
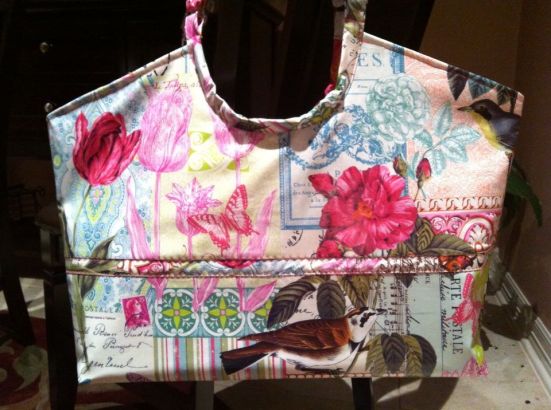
And, here’s a a couple more shots of my overall bag that I’m just so proud of and can’t wait to use!
Overall, I found this to be a very enjoyable and user friendly project. I highly recommend you try it out for yourself as soon as you get the chance!
Thanks for reading!
Jenny Gabriel aka: StitchinJenny
Oh wait! Before you go, I just wanted to take a minute to let those of you who have been following me know a few brief updates.
#1 Very Cool Development:
I have officially filed my non-profit organization with the state of Texas and we have a board of directors and everything. Our name is, “Girls Restoration Project” and we are dedicated to providing Christian based, charitable, educational, and mentorship services that would facilitate the recovery and restoration of traumatized, underprivileged, at risk, and commercially sexually exploited children. These services include but are not limited to, various types of life skills training such as providing sewing lessons and sewing machines to such children.
#2 Very Cool Development
I am now officially a full-time staff member at Humble Sewing Center and I hope you can stop by to see me real soon! For the record, I can’t book private lessons and discuss my independent sew classes while I’m on duty, but you can give me a call or email me & I’ll get back to you asap!

Love the bag and the tips about the teflon foot plus the clips thanks. 🙂
Great bag!
I love the laminate fabric you’ve used!
Great idea using laminated fabric! Your bag is a beauty, so fresh and springy! Thanks for sharing all your extra tips, teflon foot, clips, wider strap. Best of luck on your new enterprise, “Girls Restoration Project” and your full-time job! Things are coming up roses, just like your bag!
Love your fabric choice! Never used the laminate before, but would love to try. Thanks for the sewing tips.
Great idea! This will be a new fabric for me. I am looking forward to trying it. Thank you for the information and fresh ideas!!
That is a gorgeous bag! I love the fabric. What a great idea to make your bag waterproof. I may have to copy that!
I love your bag great job, thanks for sharing your great ideas…….
Beautiful fabric choices
This a such a feminine, spring time bag! God bless you in your ministry with the children.
Your bag is inspirational
Like the use of laminate fabric ! Beautiful!
Its beautiful!!
Your bag is lovely, so bright and sunny looking. I want to give this pattern a try, Thanks for showing us your bag.
Great idea to laminate the fabric
I really like the fabric you chose. I just bought some of those wonder clips!! I need another excuse to use them.
Very Spring looking tote. Thanks for sharing. Thank you for your ministry with the Children. May they grow to love the Savior.
Love the bag. Thanks for sharing detail pictures.
Love the fabric you chose for your bag. It is totally different from Nancy’s bags. Great job!!
Your bag is lovely and the fabrics are just scrumptious!!!! And you are a girl after my own heart of love notions and did not know until this blog hop about the larger wonder clips because I am a sucker for the little ones so now I will need to get the bigger ones…..great blog I am a new follower…
What a lovely bag. It looks like the fabric was hand painted. Just too pretty for words
Your choice of fabric is perfect – love it!!!
Fabulous choice of fabric.. very inspirational!
What a beautiful result you had on making Nancy Zieman’s Hobo Tote bag.
Love your choice of fabric and notions!!
Your tote is so cute. I’ve never worked with laminate but might have to give it a good try.